
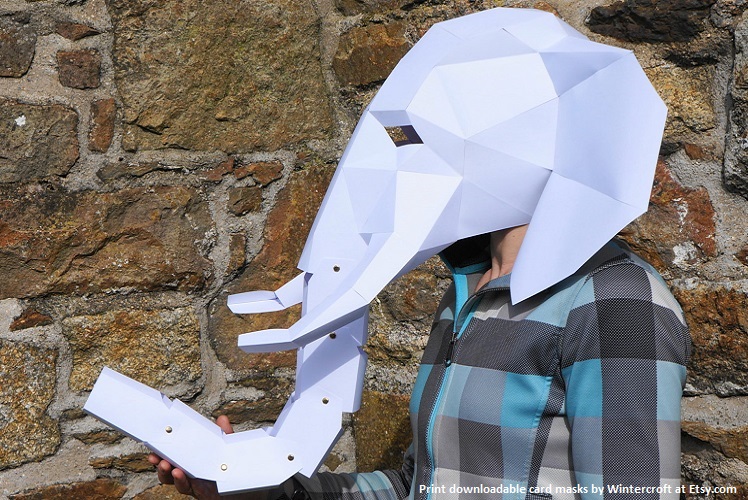
No tricks about it: Halloween is a treat for adults as much as it is for kids. Now more than ever, adults are pouring their creativity into putting together timely and comical costumes to make a big statement—and often on a tight budget. Some of the best costumes from the past couple years have been made on the cheap at home with little more than a laptop, printer, and a dash of ingenuity. Printing your own costume is great for bringing ideas you can’t find at the Halloween store to life quickly . . . and with surprisingly little effort.
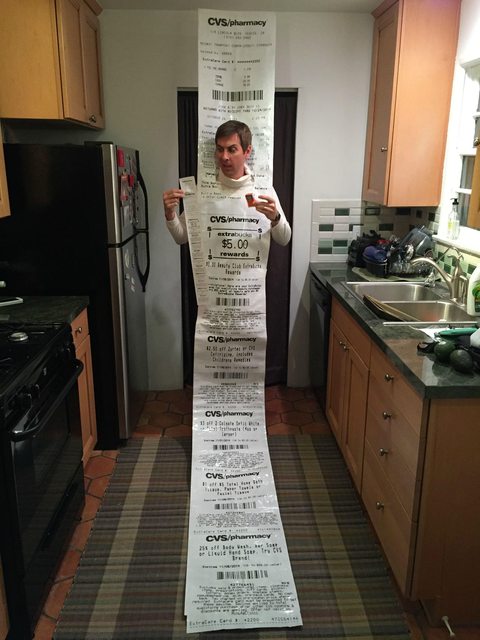
Take for example my favorite costume from last year, brought to you by John Baker. As described on Reddit, he was inspired by a three foot long receipt that came with his purchase of Tic Tacs at a local CVS and decided to make a person-sized outfit from it. Despite its professional look, it was easy to build at home. Quoting John: “I tile printed it on around 20 pieces of 11” x 17” paper and then taped them together on poster board. Put some wire on the back to hold it up. Only cost around $15 total.”
Printing offers a great opportunity to make a seminal image the centerpiece of your costume. Another great example of an easy-to-make home-crafted costume is the classic Franzia box o’ wine costume, complete with the functional spout—a surefire Halloween party favorite made with little than a couple things you can find around your home.
So, let’s say you have the idea to print your next costume from home. How do you get started?
What’ll you need? Let’s start with the basics:
-
- A laptop or desktop with image editing capabilities
-
- An inkjet or laser printer (with enough ink, of course)
-
- Scissors
-
- Glue or tape
-
- Wire or cardboard to use for framing
- Clear packing tape or laminating sheets (for a little extra water resistance).
Let’s get started!
First, take note of your pixels. One major factor that plays heavily into the quality of the large-scale print you’ll be making is the number of image pixels. Chances are the image you are looking to print isn’t originally designed to be made into a cardboard-box sized costume, but if you are working with a high enough resolution, you have leeway when it comes time to blow it up.
Trying to print an image with low resolution will result in a washy unclear image that comes across—dun dun—pixelated. Granted, your costume likely isn’t meant to be a gallery quality print, but make sure choose an image that will be able to handle resizing without losing the integrity of its look. Keeping track of pixels and image size is especially important if you are spending time putting together a design yourself, as you’ll be sorely disappointed if you discover after hours of work that it’s too small to print properly. According to Stack Exchange, small images should have a minimum of 300 pixels per inch and getting near photo quality for large prints will require upwards of 750 pixels per inch. Of course, the quality you need for an effective design depends on the type of image you are using and the amount of personal investment you have in the photo realism of the costume.
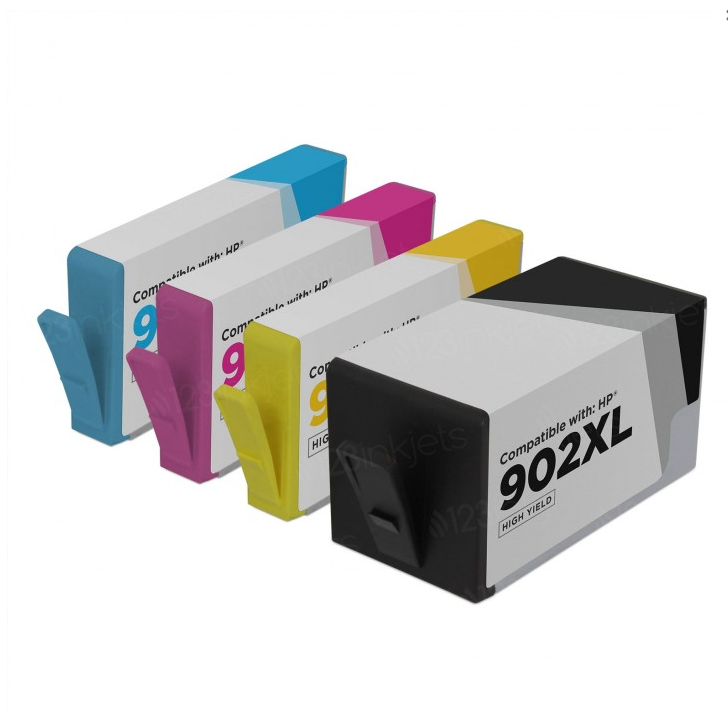
Note: Be ready with some extra ink cartridges just in case you run dry. The number of cartridges you have on the ready would depend on how much color coverage your costume design of choice requires. Purchasing remanufactured ink cartridges is practically a must if you’re going the printed costume route. You might use up roughly 2-3 cartridges for color-intensive designs which will more or less amount to $30 if we take an XL bundle of the HP 902, as an example.
Open in photoshop and resize. Our second step sounds so obvious that you likely are saying “C’mon, really?” But, no . . . really! There are special considerations you need to make when designing a larger scale image for home printing, especially if it needs to fit certain dimensions (such as those of a box you’ll use for framing, for example). Whether you’re using an image from Google Images or one of your own photographs, upload your image into a photo editing program such as Adobe Photoshop and resize your image to the exact specifications of your costume needs. If your image isn’t the exact shape of your framing, resize it to fit the dimensions of your frame on the smallest side and then crop the extra until you have the right shape.
Setting your zoom to 100% will give a general idea of how the image will print to the page, but chances are you will have to zoom out in order to work with your design (if any editing is involved). Once you’ve resized and edited your image, run a quick trial by printing a single page and checking the resolution of your image on paper before printing the whole series.
Tile printing. Once your image is resized and ready to go, it’s printing time. The easiest way to print out a large image is to save the file as a PDF and tile print it using Adobe Acrobat. Choose File > Print and then select Tile All Pages from the Pop Up menu. You have several options to help you line up each page to help make sure your image tiles match up perfectly. Each is outlined with some detail along with full instructions on the Adobe website.
If you are using a different editing and publishing program, Google “Tile Printing” and the name of the program for hints on how to get the best results.
Or choose engineering prints. An alternative choice to tile printing from home is going to a local print store and requesting drafting prints of your image. Also known as engineering prints, they are oversized reproductions designed for architects and engineers to showcase and print intricate designs in a readable form—with enough detail and space to include important notation and features. They are commonly printed on large industrial scale printers in black and white, and the prints themselves resemble giant photocopies in a lot of ways. They can be acquired cheaply too, running between ten and twenty dollars in some cases. If you are looking to convert a color image into an engineering print, be sure to put your photo into an image editing program and set the color to black and white, adjusting the exposure to get the desired results. Remember the limitations of the form though: your print will essentially be a large photocopy, so you will lose all color and most grayscale nuance (as well as sharpness) in many cases.
Printing your Halloween costume is a cost effective and quick way to come up with an original look that shows off your personal style. With a little bit of preparation and the right tools, you can come up with a design that is truly unique. Happy Halloween!
