Seasoned designers know that effective design–whether on digital media or print–adheres to the principles of balance, proportion, and alignment in order to convey a uniform message. But what good is a well-planned design if you don’t follow through with the right printing materials and process?
In this guide, we have assembled a series of helpful hints to properly launch your creative ideas to print. From the basics of design to choosing the right printing process for your project, you’ll find tips and tricks that will help you successfully come out of the design-to-print process with a top-notch print design.
Design Basics
Concept
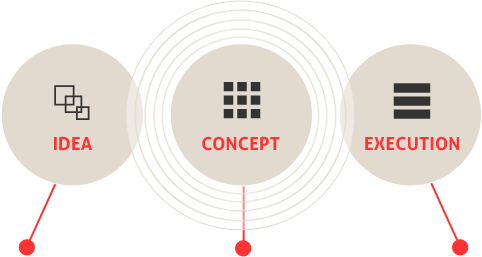
Image Credit: Imgarcade.com
Before jumping head-first into the design process, take a moment to carefully think about the overall message you want your design to convey. Think of your audience, the brand, and your intent: these three elements will greatly influence the overall concept of your design.
Implementation
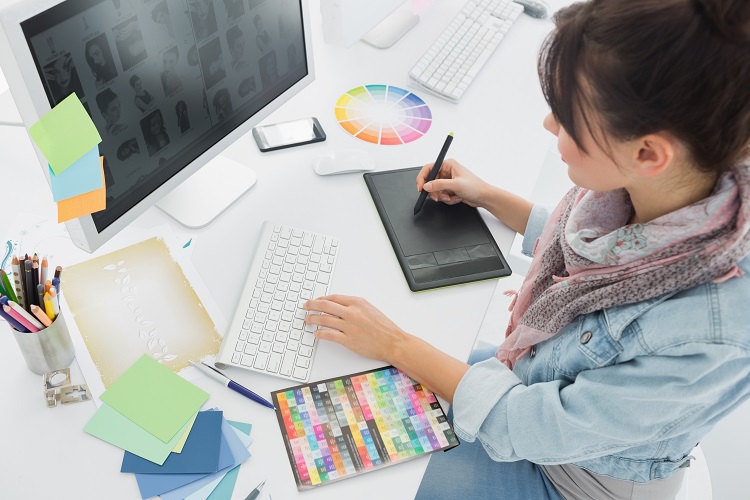
Image Credit: Artisantalent.com
Effective designs connect with the consumer. The type of connection will depend on how the designer’s intent influences the consumer’s perception of the design. Connections can be subtle, powerful, or even grating. No matter what the connection, try to make it memorable. A memorable design stays with the consumer and invokes a lasting feeling about the brand.
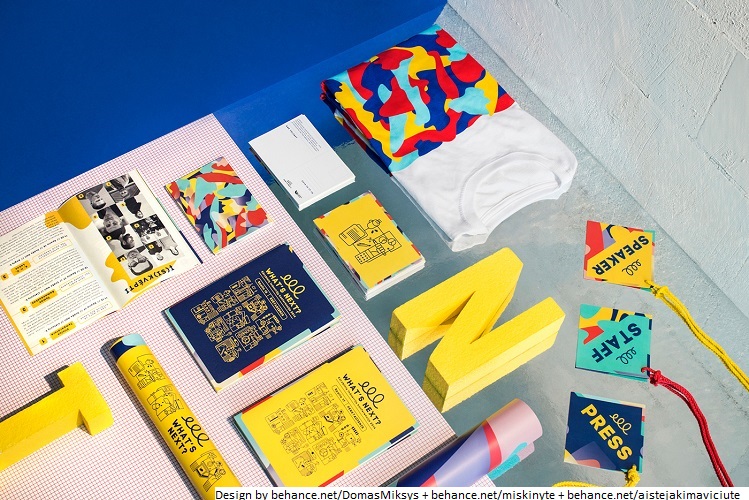
Cohesiveness

Image Credit: Gifts Workshop (Behance)
A harmonious design is a happy design. From the overarching concept to color choice, every component of the design should be speaking the same language. According to the Principles of Design by NorthernHighlands.org, “successful design incorporates the use of principles to communicate the intended message effectively…they help designers organize the images and type on the page, so that it feels more comfortable to viewers and makes a greater impact.” The more unified your design elements are, the more compelling your message will be.
Preparing Your Design for Print (Prepress)
Once you have a design that you are satisfied with, the next step is to evaluate how ready your design is for print.
Resolution
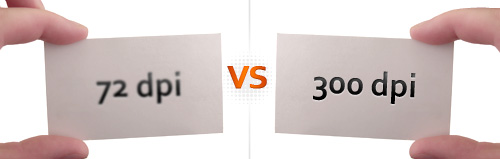
Image Credit: EchoEnduring.com
For high quality design prints, it is recommended that you have an image resolution of at least 300 dpi (dots per inch). Just be aware that image files with higher resolutions tend to be bigger compared to image files with lower resolutions.
Bleed, Trim, and Safe Zone

Image Credit: Envato.com
Bleed refers to how much your graphic needs to extend beyond the trim area. The image bleed size is usually a few millimeters (1/8 of an inch) larger than the trim size on all sides to allow for a cleaner cut without the unwanted appearance of thin white lines around the edges of the finished product. For this reason, you have to be aware of the differences between bleed and trim size, and remember to keep all design elements within the “safe zone.” The safe zone is usually smaller than the trim size, 1/8 inch less on all sides, and should contain all of your design’s important elements. Text or graphic elements that are outside the safe zone has a higher chance of getting cut off.
With bleed and trim in mind, it might be a good idea to create your design in layers so that you have flexibility in moving elements around to perfect their placement before printing.
The ABCs of Print
We all know that the printing involves three things: the paper, the ink, the process. But say, you’ve found the perfect coarse, thick paper, ideal for letterpress embossing – and your ink bleeds or the gold foil lettering won’t stick? Or maybe the high-gloss varnish on your nature photograph becomes cloudy when applied. Before you buy a truckload of something, it pays to make sure it works. This is what this section of our guide is for.
Let’s begin with the available printing processes.
Printing Processes
To determine the best printing process for your print design, there are some questions you need to answer:
- Will you print your design in-house or outsource it? How many copies do you need to print?
- Are you printing in black and white or color? Do you need to print on both sides?
- What kind of paper would be best for your design? Will textured paper work best or not? Will you need thicker paper?
- How big do you need to print your design? Are you printing something that needs to be folded after?
- Does the print design need to be glossy?
Whether you decide to print your designs in-house or outsource it, some level of research will always be required. For instance, if you’re thinking of printing your design in-house, you might need to ask yourself:
- What type of printer will you be using?
- Is it an inkjet or laser printer?
- Can it accommodate the requirements (dimensions, quality, and volume) of your print design?
In-house printing will also require some research to determine what printer, ink, and paper is best for your design. Some printer models you might consider are the Canon Pixma Pro-100, Xerox ColorQube 8570, or the Epson Stylus Pro 4900.
Outsourcing prints will require even more research on your part, especially if you’ve never outsourced a print job before.
Offset Printing vs Digital Printing (Commercial Printing)
There are two printing processes commonly used by most commercial printing vendors: offset and digital. If you are printing more than 1000 pieces and intend to use special inks, then offset printing is the way to go.
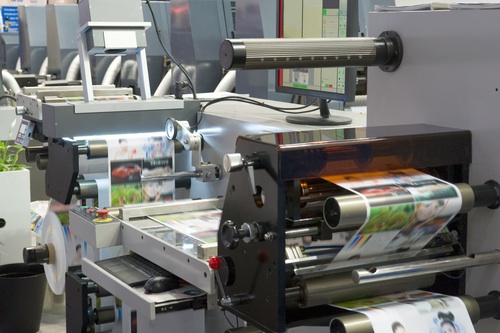
Offset Press Image Credit: MarketingEpic.com
Keep in mind, the offset print process takes longer compared to digital printing and a significant amount of drying time is required before handling the final product. Digital printing is best if you need to print less than 1000 of something with a faster turnaround. It can also accommodate for variable text and can be handled immediately after printing.
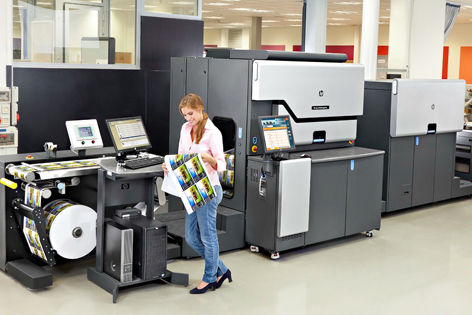
Image Credit: HP.com
The Printing House offers a great comprehensive guide you can use to sort out more of the differences of offset printing with digital.
Inkjet vs Laser Printing (In-House Printing)
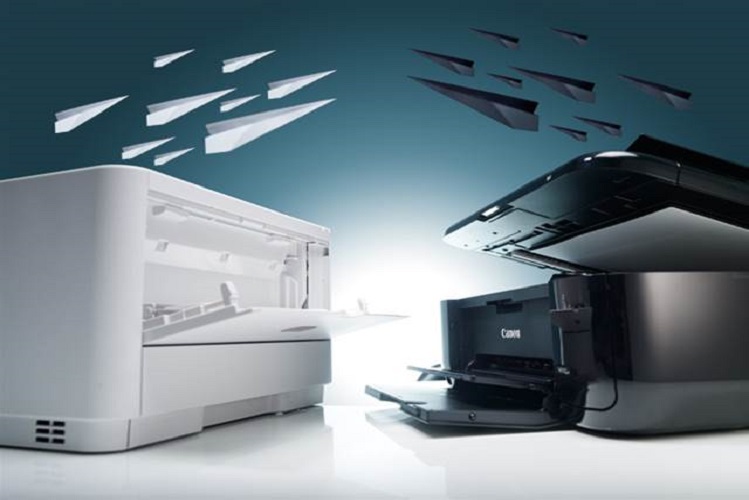
Image Credit: Bit.com.au
Inkjet and laser printers both create stunning digital images. An inkjet printer does it by dropping spots of ink onto paper, while a laser printer does it by scanning a laser beam across some photoreceptors. They both have their good points, and their bad ones too.
Laser printers are a bit bigger and heavier and cost a lot more than inkjet machines. But both the price and size of the laser devices are shrinking, so it makes sense to look at the differences.
Inkjet Pros and Cons
On the pro side, inkjet printers are the best for photos and documents with a lot of images. The colors are blended more smoothly than with laser devices. They can also print onto nearly any kind of paper. You can use special glossy paper for photos, textured stationery, card stock, and even fabric papers in many machines with a good outcome. The warm-up time is also negligible, they are lighter, and they require little maintenance.
On the downside, ounce for ounce, the cost of original ink is right up there with caviar and fine champagne. The water-based ink also makes the prints vulnerable to fading and water damage. The cartridges need to be cleaned often, and that wastes a lot of expensive ink. The number of pages that you can print in a minute is quite limited, and even the faster machines would have difficulty keeping up with a large run. Text on standard office paper can sometimes look fuzzy and gray, and the machines often only hold 50 or 100 sheets of paper.
Laser Pros and Cons
High volume is not a problem with a laser printer, as it can put out prints much more quickly than a typical inkjet machine, and it often holds an entire ream of paper too. Also, if you are printing a lot of text, especially standard or small fonts and fine lines, you will get a sharp and perfect result. If you’re printing mostly text jobs without much in the way of graphics or images, laser is the way to go. And, even though the big toner cartridges are expensive, they last much longer, making laser printing the more economical choice on a page-for-page basis.
But, lasers costs much more up front for the machine and they take longer to warm up. Laser printers are also limited in the kinds of paper they can handle and print to successfully. Heat-sensitive papers cannot be used. While most simple graphics and charts will turn out fine, photos may not.
Other Printing Techniques
Fancy printing techniques, such as letterpress and thermography, are going to cost more, so use them only if you have to. If you really do need to bite the bullet on a pricey technique, look for other ways to save. Maybe you can get the same look with fewer colors or a brand or weight of paper that costs less. Alternative binding methods, sizes, and distribution methods can also be looked at. Look into using different printers and printing methods. Alternative ink options will also end up saving a lot of money. Consider buying remanufactured or compatible ink. Most alternative inks work just as well as the original at a fraction of the cost.
Image Credit: CarnivalofSorts
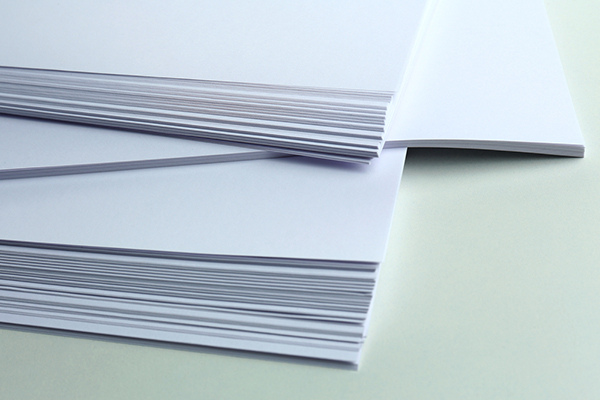
Paper
Paper is not just the canvas your design will be printed on. It’s also what makes your print design a tangible, physical object that can influence how your readers feel about your message and perceive your brand. To illustrate, do you think audiences will react the same way to a thin, flimsy piece of paper as with a piece of thicker, sturdy paper? Exactly.
Paper typically represents 30% of the cost of a design project. That’s a big chunk, so it should be given a lot of consideration. It’s a good idea to factor in what paper you’ll be using as you conceptualize your design. A slight difference in size, texture, color, coating, or brightness of the paper can make a world of difference when it comes time to go to print.
“Paper is paper” is far from the truth. Some houses and websites offer 3,500 different types or more. Each kind paper type sends a message of its own, a more tangible and physical one, separate from the abstractness of words and design. A charitable campaign should not be printed on premium stock, and an environmental organization might send the best message on recycled paper. But if you’re touting luxury, go for high end metallic, iridescent, leather, or other specialty papers.
With so many kinds of paper to choose from, there are far too many details to include here so we’ll just cover the basics. Let’s go through some questions you need to ask yourself when deciding what paper to use:
- What medium will your print design be? A business card, postcard, brochure, catalog, or poster?
- Should you use coated or uncoated paper? Will it have prints on both sides?
- How long does the print need to last? Is it a disposable program/flyer or something that might hang on a wall for years? Does it need extra thickness for durability if it will be handled a lot?
- Will it be folded or subjected to post-production processes like embossing or varnish?
- What is the look, feel, or impression you are trying to make?
The answers to these questions will guide you to the right paper – coating, color, thickness and weight, opacity, brightness, acidity, texture, new or recycled content, price, etc. You may also want to talk to a few printer stores for their insider tips and advice.
The type of paper available to you would also depend on what printing process you’ve chosen. The offset process allows more flexibility with textured types of paper. If you’re looking at outsourcing your print job to a commercial print vendor, there’s a good chance you will be faced with these choices so it’s a good idea to familiarize yourself with them beforehand.
C1S vs C2S: C1S means the paper to be used is coated on one side and C2S means it’s coated on both sides.
Text vs Cover: Text (TXT) is regular paper stock aka the kind of paper you use for printing at home. Cover (CVR) is thicker paper and is also referred to as card stock.
Matte vs Glossy: Matte paper is dull and lusterless due to the dull coating applied to it; Glossy paper is shinier due to the high gloss coating applied to it.
Paper Coating or Finishes: There are a few standard finishes offered by offset printers: Aqueous, UV Coating, Varnish.
- Aqueous coating is a clear, water-based (and therefore more environmentally-friendly) coating meant to protect your prints from the elements making them more durable.
- UV Coating offers the highest gloss coating compared to other finishes and requires exposure to UV light to harden after application. This type of coating is not advisable for print media that will be folded. You can also choose to coat only certain parts of your print–this finishing option is called Spot UV.
- Varnish is a clear coating that can be either gloss, satin, or matte. Flood varnish refers to coating your entire print design with varnish; Spot varnish refers to selecting only certain areas to apply varnish on.
To learn more about paper types, PCWorld has an article that talks about the best paper for home printers, and Tutsplus also discusses how to choose from different types of paper.
Ink
If you’re using a commercial print shop, they may well choose the appropriate ink for your project and paper, or they may give you some options to choose from. However, more and more design work is being printed on home and office inkjet and laser printers, so that will be our focus.
Ink and toner cartridges typically come in four basic varieties: Original Equipment Manufacturer (OEM), Compatible, Remanufactured and Refilled.
Before we break down the choices, you need to be reminded that the colors you see on your computer screen are not the colors you will see on the printed page. That’s because your computer screen uses the RGB (red, green, blue) colors of the light spectrum, which combine to make white light; while the pigments in ink use CMYK (cyan, magenta, yellow, and black). If your design software allows you to select CMYK, it is best to use that from the start. Otherwise, the bright colors you see on your screen may look muted and in an unexpected shade or hue in print.
It may also be worth noting the difference between black and rich/packed black. While the rich (four-color) black may look deeper and better in a block of black on your print, text and barcodes often print with rainbow edges where the colors do not overlay perfectly to create the rich black. Four-Color black is typically better for text over 36 points, unless it is very thin. Small text fonts may appear blurry or unreadable with the multi-layer black, so it is essential to use one-color black for that.
OEM. Every printer manufacturer makes genuine brand ink cartridges for their machines. You may have noticed, however, that a set of cartridges can sometimes cost as much as the printer itself. In fact, manufacturers often sell their printers at low loss-leader prices knowing that they will make up for it with high-profit ink sales.
With ink, quality matters but prestige does not, as no one can tell the brand of ink by looking at a flyer or poster. Therefore, the value of the label is not a consideration. If OEM products fit your budget and your high-end client, they might be a suitable option for you. However, compatible and remanufactured ink cartridges are typically a fraction of the cost of the original and perform just as well.
Compatible. Compatible products are made by a separate company. A manufacturing company will reverse engineer a Canon or HP cartridge, make one to the same specifications, and fill it with ink. Compatible cartridges are built with entirely new parts and are designed to fit and function the same way as the original brand. Most will look slightly different due to manufacturer copyright concerns. Many customers prefer compatible cartridges over remanufactured because they are less likely to have a mechanical failure. A number of compatible cartridges are outfitted with a new electronic chip that accurately monitors your printer’s ink levels. There are websites that will allow you to compare ink brands and read reviews from previous users, and you can also figure that there is a correlation between the price and quality of the compatible brands. The quality of aftermarket cartridges can vary greatly from supplier to supplier. Buying from a reputable supplier with a strong customer satisfaction guarantee will save you from the hassle of dealing with an inferior cartridge.
Remanufactured. Remanufactured cartridges began as new OEM products that were used and depleted by a user. Then, rather than throwing a perfectly good and durable plastic cartridge into a landfill to lie there for much of eternity, the shell is recycled. A remanufacturer will take it apart, clean it, replace any parts that are worn out, put it back together, test it, and fill it with new ink.
A refurbished (or “remanufactured”) product from a reputable remanufacturer will give you quality and performance indistinguishable from an OEM unit. As refurbishing is cheaper than creating a new product, you can save money and get top-notch quality as well.
Refilled. Another cheaper alternative to the genuine brand cartridge are ink refill kits. Refill kits allow you to refill a depleted cartridge using a syringe and bottle of ink. The process sounds simple but it can get messy quickly if one is not careful. Certain customers prefer a refill kit over a remanufactured cartridge because they get to do the refill process on their own. By refilling the cartridge yourself you know exactly how much ink is going into the cartridge and can easily monitor its use. Not all refill kits are the same. Make sure to buy the correct refill kit for your specific cartridges. Ink refill kits are environmentally conscious and will end up saving you a lot of money in the long term!
Determining the Cost per Page
Besides the appearance and durability of the printed product, you will also want to pay attention to the number of pages that can be printed with each cartridge, as this is also a key factor in cost. Page yields can run very differently depending on the printer you have and the type of printing you are doing. Keep in mind that the page yield is an estimated number based on ISO standards. In order to determine the cost per page, first research the page yield of the ink cartridge on a reliable seller’s website. Divide the cost of the cartridge by the page yield for each cartridge. For example, if a black cartridge costs $40 and yields approximately 500 pages, its cost per page is $0.08. With a little bit a math you can quickly do some price comparisons and make an informed decision about which printer will be the most cost effective for your needs.
The Final Analysis
In the end, you may find that the best result for your design project involves making compromises in the design to get the paper or the process you want to look and work properly. Or compromises might be made for the sake of the budget. Like all of life, it’s a balance. Each project will be a learning experience, and the more familiar you become the elements of design, the printing processes, the paper, the ink, and the costs, the better able you will be to succeed in the highly competitive business of design.
Disclaimer: The images on this page are not owned by InkCartridges.com and are used solely to illustrate concepts discussed in the article. Please click on the images to see their original sources.