Decorating for the holidays is a great way to add a little extra fun to your day to day office life. A little touch of orange and black in the weeks before one of the craftiest holidays of the year will give a festive feel to your desk, and can offer a great opportunity for colleagues to collaborate on fun projects as a team. Setting aside an hour or two over the course of a workweek to do something fun can boost morale and help strengthen the feeling of camaraderie amongst your employees. And perhaps there’s no more fun decorating holiday than Halloween. But what can you do with the supplies you have on hand? Here are some great ideas for helping make your office a little more ghoulish for All Hallows Eve.
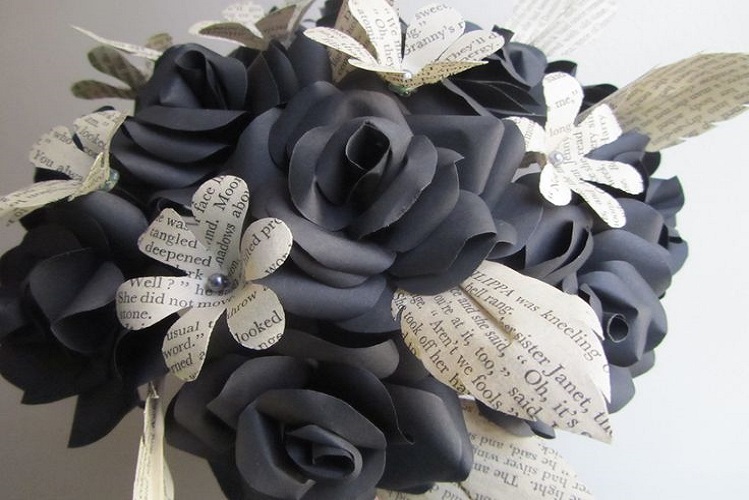
Get this bouquet from PagesToPetalsDesigns for just $28 at Etsy.com!
Everyone loves getting flowers, no matter what time of the year it is. A bouquet arranged in a simple vase looks great on your reception desk, and can add a little dose of color to any space in your office. Buying flowers can be expensive, and unfortunately they tend to wilt pretty quickly. Paper roses, like the ones depicted above by Pages To Petals Designs, are not only easy to make and effortless to keep alive, but they offer a great chance to get your staff together and use their creativity in a fun activity. For unique Halloween decor perfect for a professional setting, why not make some black and orange roses for everyone’s desk? They’re eye grabbing—it’s rare to see a black or an orange flower, much less a rose—and they are festive without being as off-putting as, say, a bowl of bloody eyes to greet guests with . . .
While there are several ways to make paper roses, I will start by touching on two of the simplest and most stylish to get you started. Both involve some basic supplies you may already have around the office. Here’s how to get started:
Method One: The Classic Coil Rose
An old standby of hopeless romantics, the napkin rose is among the simplest origami forms. Easily constructed from literally nothing more than a napkin, it’s a great way to break the ice with someone at a local wine bar or play magician at a dinner party. The basics are pretty simple, but often the results leave a lot to be desired. The technique in general isn’t flawed though, and you can get some really marvelous results by taking a little time and tweaking the formula to suit your needs like how Baby Loving Mama used paper flowers to accessorize her pumpkin.
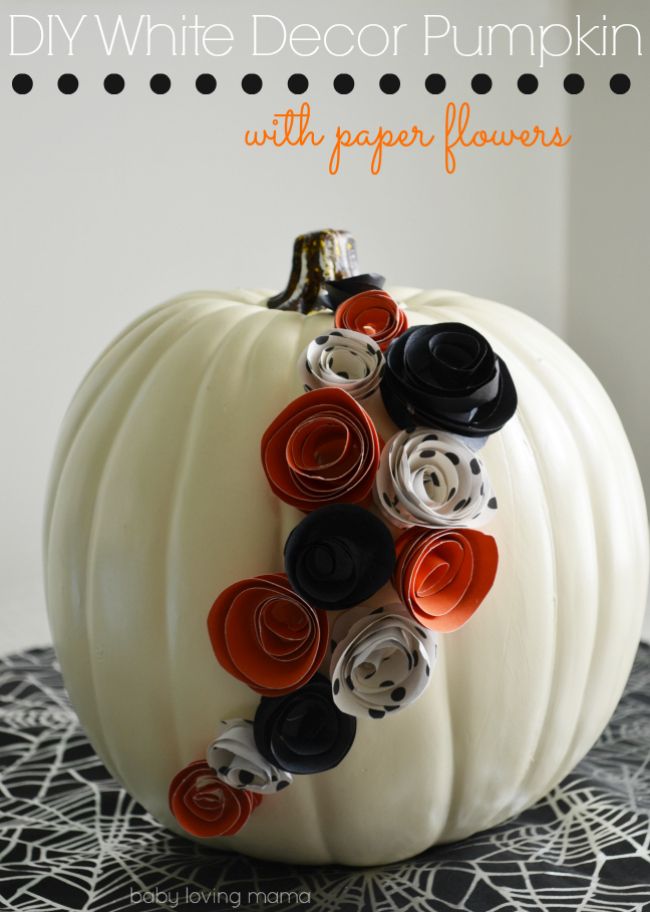
Learn how to incorporate paper flowers onto a white pumpkin with this neat tutorial by BabyLovingMama.com.
What you need:
- Paper
- Tape
- A small twig or chopstick (optional)
Getting started is easy—all you need is paper and your fingers to make the most basic flower. Lighter weight, flexible paper like tissue paper will work better for this technique. Using multiple layers of tissue paper will add to the stability of the “bloom” and allow you to play with layering for a fuller effect. The first couple roses may be a little tricky, but with a little practice you’ll get the hang of it.
- Fold the tissue paper in half so that you have a creased side and an open side.
- Pinch the left hand corner on the open side with your thumb and forefinger, so that you are holding together each sheet.
- Place your middle finger next to your index finger with the sheets in between, pressing them together. This will become the center of your flower.
- Wrap the wide part of your sheet around the two fingers and the thumb. Voila, there’s the head of your rose.
- Twist the remainder of the sheet in the same direct as you wrapped the head, coiling it around until it resembles a stem. Once you have a good base, you can grasp the stem and release your. grip on the flower. You can also pinch and prod the head to loosen up the different layers in the flower to fill it out, making it resemble a real flower.
- Use tape or an elastic band to bind the stem. Fill a vase with several paper roses to hold their shape better and give the effect of a bouquet.
Method Two: Cut-out Rose Delights
For a fuller effect, cutting out and layering petals around a center is a craft classic your office will love. The process is fairly simple and requires a couple very simple tools:
- Paper
- Scissors
- Glue
- Small alligator clamps (optional)
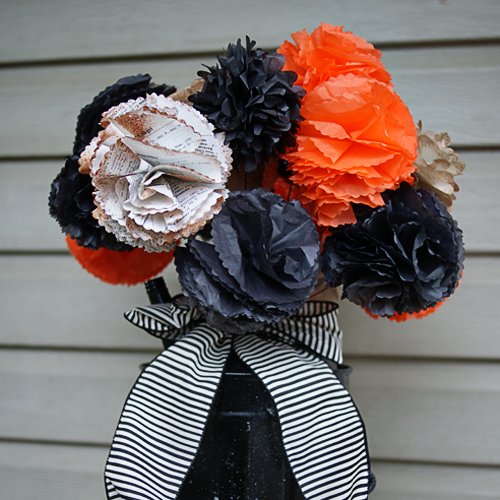
Sweet bouquet idea by SavedByLoveCreations.com.
Paper flowers of this variety require a little more effort and skill, but the results are rewarding. Instructables.com offers up a great tutorial with photographs to illustrate the type of looks you can achieve (and believe me, they’re quite delightful). Cutting layers allows a lot of creative liberty and you can get a whole bunch of different looks simply by experimenting with shapes and patterns. For this activity, you should use a heavier paper stock, starting at office printer paper and up to construction paper or even cardstock. Thicker and stiffer paper will offer hold shape and, with practice, the best results. The basics are pretty straight forward:
- Taking a pencil, draw the outlines for three outer petals and four inner petals. Inner petals should be rounded and irregular in shape, and they should get gradually smaller. The outer petals should roughly resemble wide hearts. You also have the option to cut two to three leaves to accent the bottom of your flower.
- Make small ¼ inch or less cuts into the bottom tip of the outer petals. This is how you will overlap them into the bowl that will make up your blossom. Put a small dallop of Elmers glue next to the cut.
- Gently curl the tops of the petal with your thumb and scissors so they bend elegantly outward.
- Put the three outer petal together by gently overlapping and interlocking them with the ¼ cuts. Wait for the glue to dry.
- Wind up each of the inner petals so that they resemble little cones (they will kind of resemble pencil shavings. Stack the inner petal cones into one another so the smallest is on the inside and the largest is on the outside, creating a rose shaped blossom.
- Place some glue in the bottom of the outer petal cup and secure the inner petal set in position. Here you have the option to add your leaves to the bottom of the blossom for a finished look.
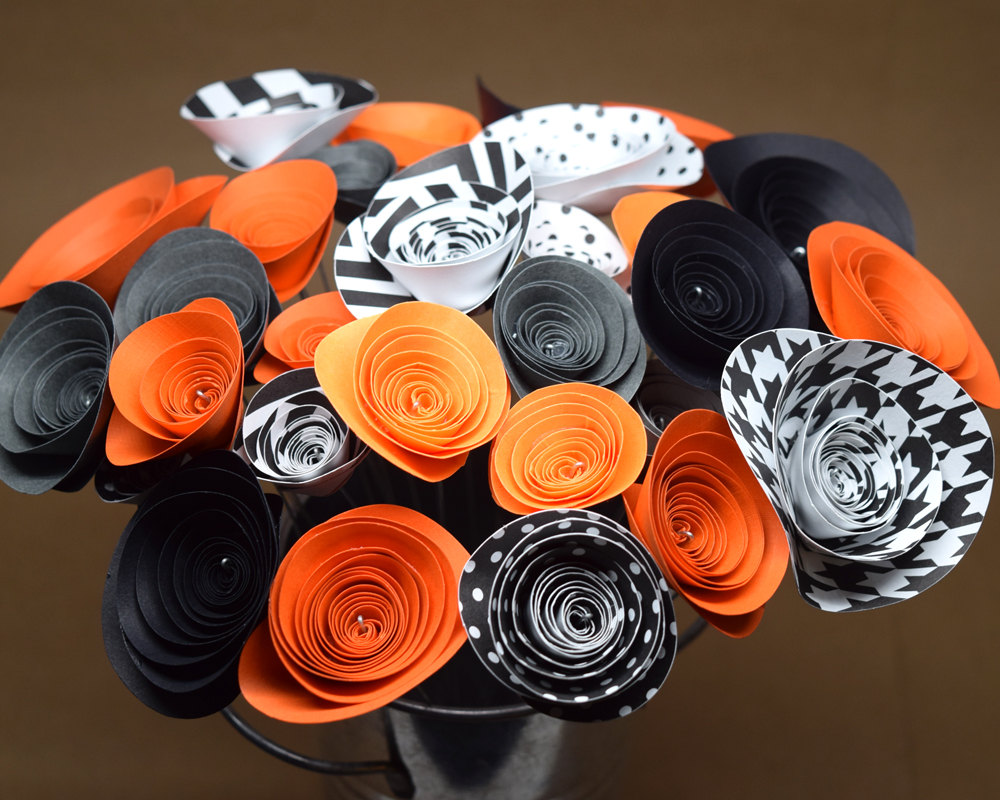
Once you get the hang of it, you can make festive floral arrangements from basic supplies for any occasion. That said, there are few things more striking than vibrant orange and black flowers, especially paired with an accented vase. You can also get creative with your paper choice, using a festive pattern print paper to really bring out the feeling of the season. Throw some fake spider web into the mix for the full effect.
Happy Halloween!