
Welcome to the second installment of our INKstallation guides series! This guide will walk you through properly replacing ink cartridges in HP printers.
There are many different types of printers in the HP range including All-In-Ones, inkjets, laser jets and high-end design jets which are primarily manufactured to produce top quality photographic prints. No two HP printer models are exactly the same and as a result of this, the ink used from printer to printer can vary. For example, the HP DeskJet 3050 operates on a tri color and black ink cartridge system, whereas the HP OfficeJet 4620 printer uses individual cartridges for each ink color. As you may have guessed by now, there is more than one way to change an HP ink cartridge, but never fear, we’re here to cover all bases.
To offer a step-by-step guide that suits the two main installation styles, we are going to focus on two popular HP printer models: the HP Photosmart 7520 and HP Officejet Pro 8600.
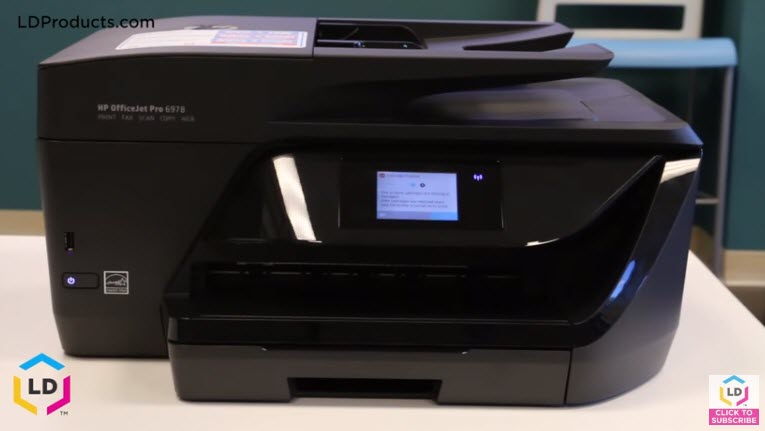
HP OfficeJet 6954 / 6968 / 6978
Before installing a new set of cartridges, you need to confirm that you have the correct colors for your machine. This particular printer series can take both a high yield and the standard yield cartridge. Most consumers prefer to go with the higher yield cartridge because it yields quite a bit more ink. It is generally a better deal in the long run, especially if you purchase an aftermarket cartridge. The HP OfficeJet 6954, 6968, and 6978 uses HP 902 ink cartridges which come in black, cyan, magenta, and yellow. All cartridges also come in a high yield size.
Ink Replacement Instructions
#1 – Test the estimated ink levels.
Of course, before you commit to changing your printer’s ink cartridge, you’re going to want to check the ink levels. To do this, touch the ink icon on your printer’s control panel home screen – this will allow you to decide whether you need to take action.
If you’ve checked your estimated ink levels and it’s clear that you need to replace the existing cartridge, then we go to the next step.
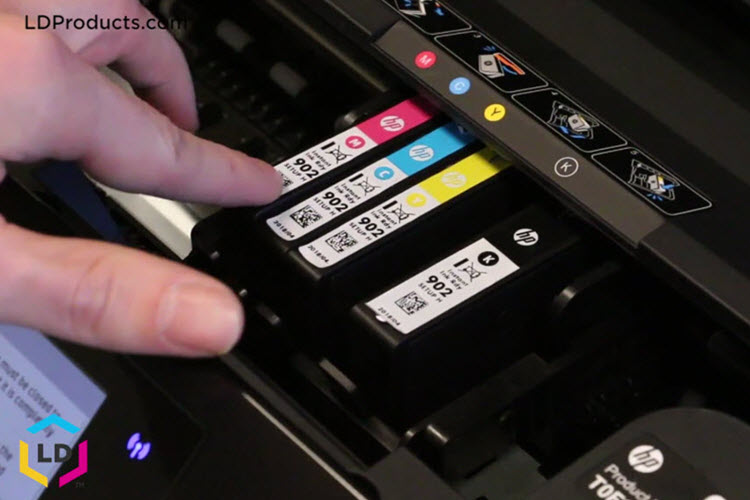
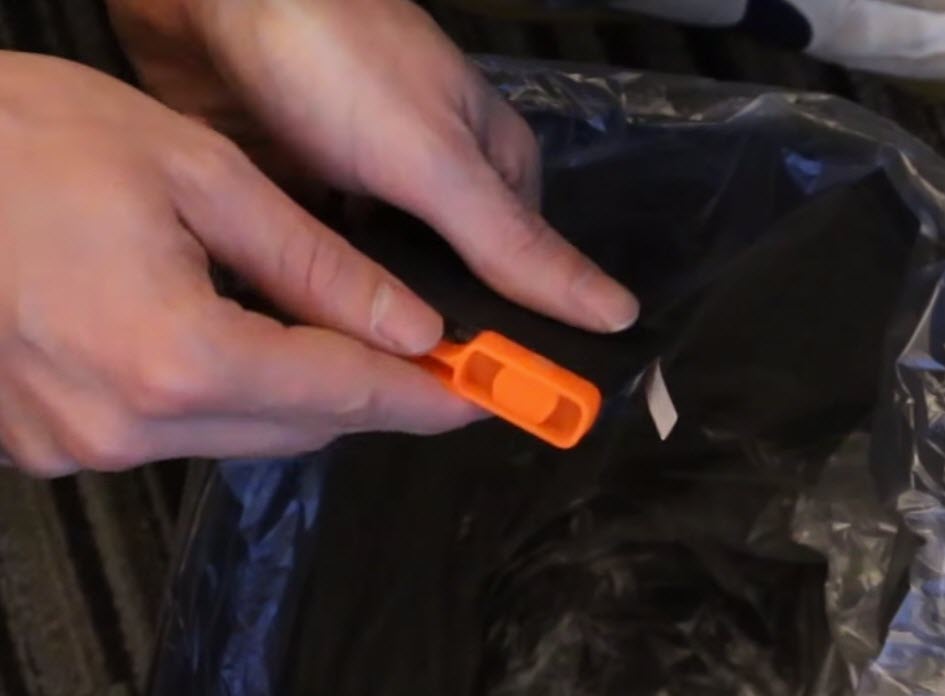
#2 – Remove the empty cartridge.
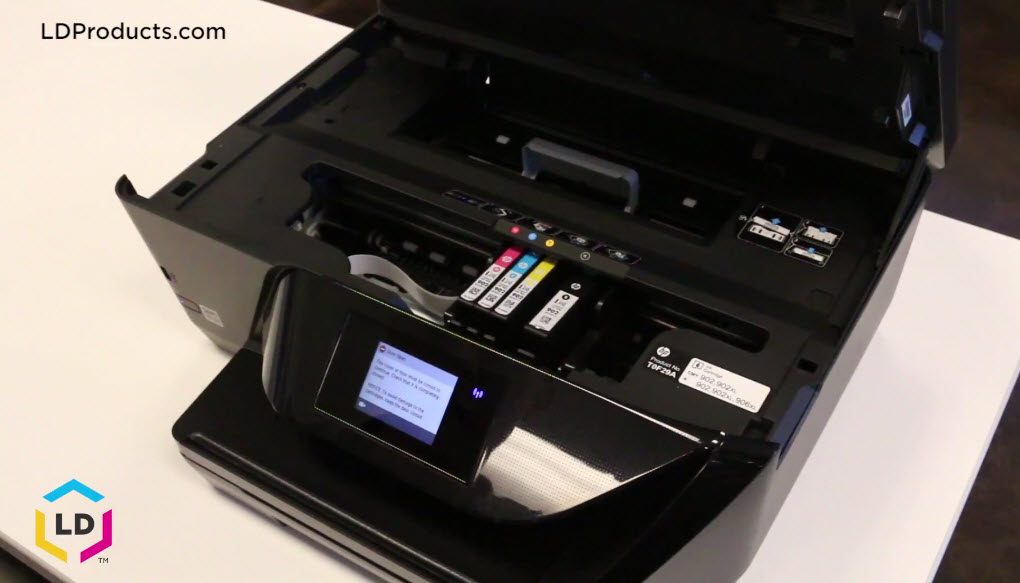
Power on your printer and lift the top cover. Wait for the cartridge to move to the center (it will do so automatically). Gently but firmly push the tab on the front of the cartridge and then lift it up gently to remove the old cartridge. The cartridge will pop out of the carriage so you can safely take it out.
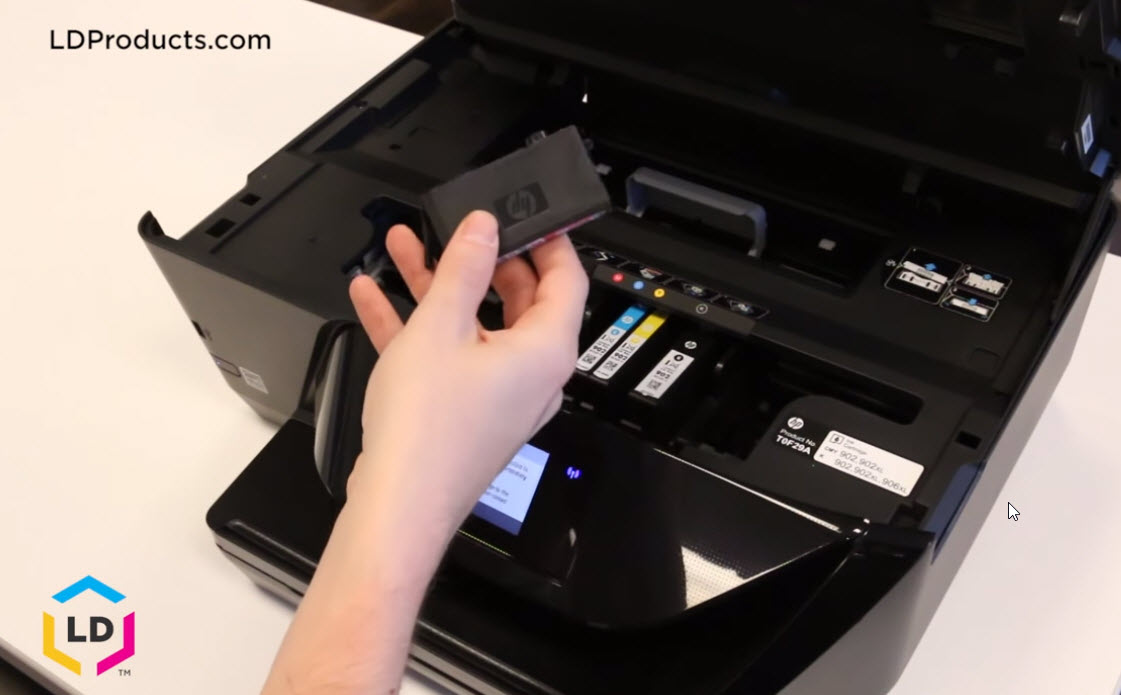
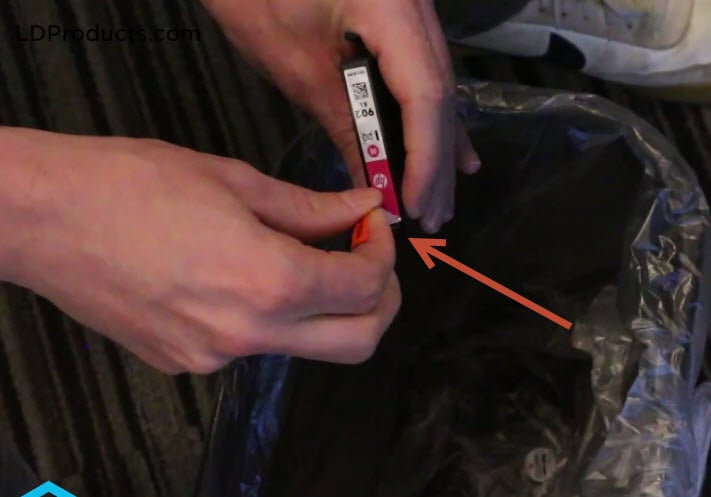
#3 – Unpack the new cartridge.
Carefully remove the new cartridge from its packaging and place it face up on a solid surface (preferably under some paper just in case of any leakage) so the label is visible.
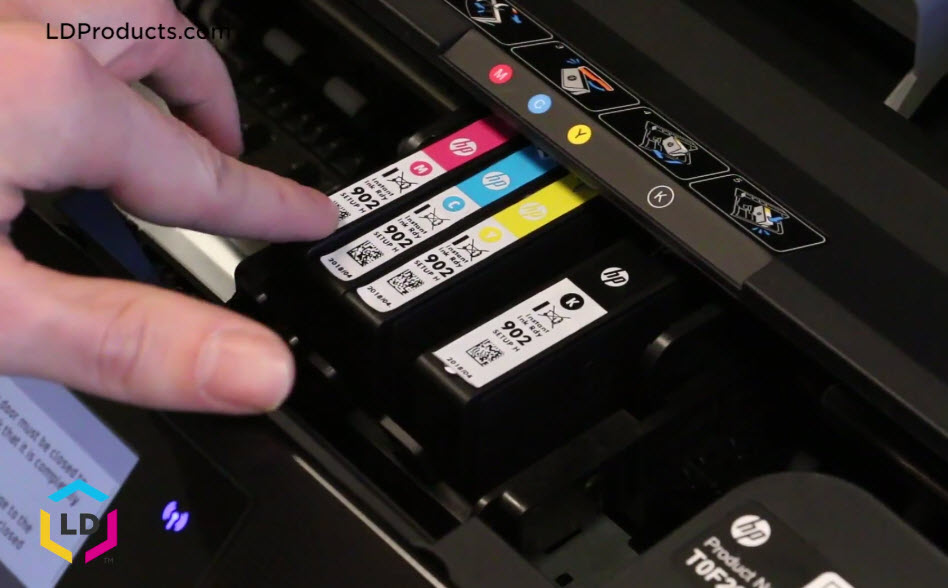
#4 – Insert your new cartridge into the printer.
Before you proceed, if you have any concerns or doubts, we strongly advise that you consult your printer’s manual for specific installation instructions, as incorrectly installing a cartridge can be quite costly.
Before installing your new cartridge, remove the plastic clip on the bottom of the cartridge and pull back on the plastic tab to expose the vent slots.
Next, slide the new cartridge into the empty slot (make sure the colors on the cartridge and the marker at the top of the printhead match.
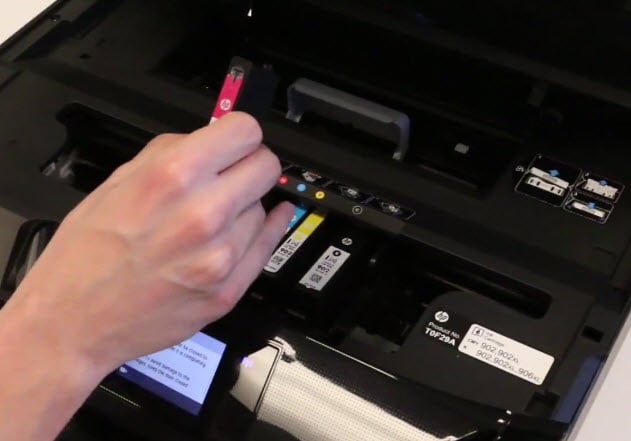
Push gently until each one clicks into place.
Close the printer lid with care.
Please note, if you’re using genuine HP cartridges, the printer will acknowledge that you are using genuine ink. However, if you’re using aftermarket or remanufactured cartridges, you may get a message notifying you that non-genuine HP cartridges have been installed. But don’t worry, this message should not prevent you from printing – you should be able to print as expected (in the unlikely event that you do experience problems, consult your printer manual for further advice). Our remanufactured ink cartridges offer a specially-designed compatibility chip that will accurately measure ink levels; much like the HP originals.
#5 – Finish installation and test your HP cartridge.
Once your cartridge is physically installed in the printer, a confirmation message will appear on your desktop. Press confirm to allow the printer to initialize and prime the system with the new cartridges. Once this is done, your printer will prompt you to do an all-important alignment test. Load paper into the printer and press okay to start the alignment process, before examining the page to check the print quality.
You can watch the full video here:
In the event that the print quality is poor, you may have to clean the clean the cartridges – don’t worry, you won’t have to take the cartridges out to do this. Simply go to your printer settings and follow this route to carry out the task:
settings > tools > clean cartridges
Click on the Clean Cartridges function and just like magic, the printer will perform this operation on your behalf.
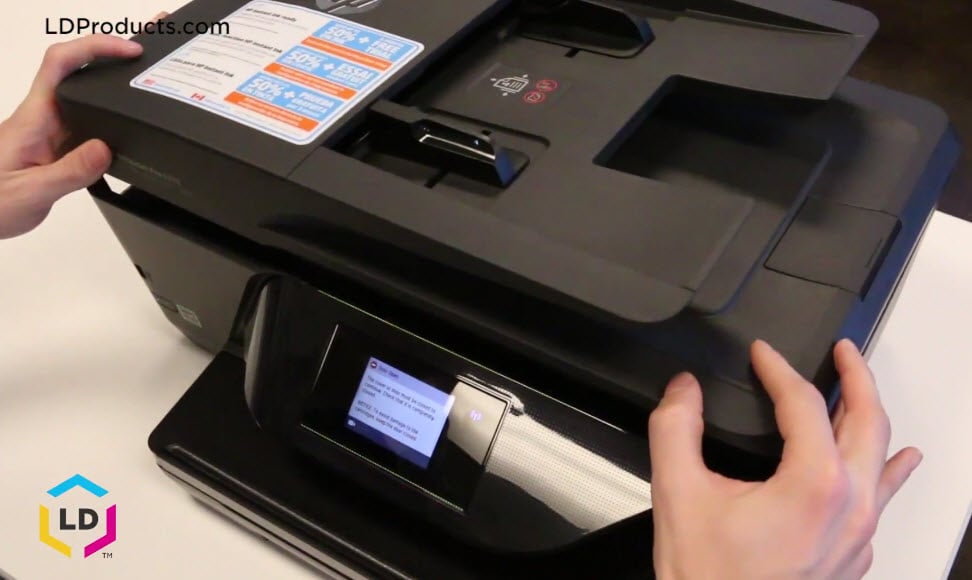
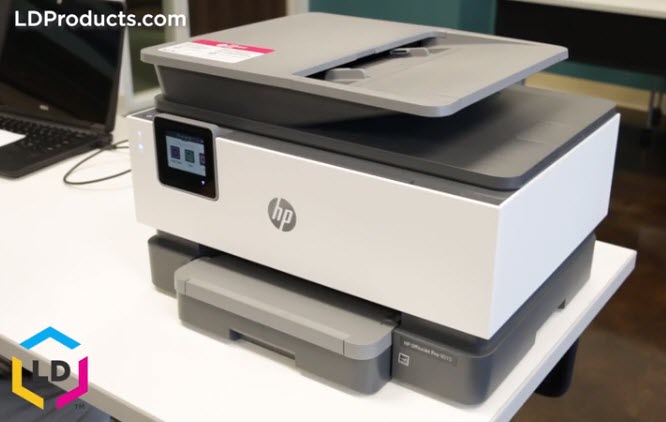
HP OfficeJet Pro 9015
Before installing a new set of cartridges, you need to confirm that you have the correct colors for your machine. This particular printer series can take both a high yield and the standard yield cartridge. Most consumers prefer to go with the higher yield cartridge because it yields quite a bit more ink. It is generally a better deal in the long run, especially if you purchase an aftermarket cartridge. You will need to have all of the cartridge colors installed in order for the printer to function. The HP OfficeJet Pro 9015 uses HP 962 ink cartridges which come in black, cyan, magenta, and yellow. The black is physically larger than the other color cartridges.
#1 – Test the estimated ink levels.
As mentioned earlier, before you even think about swapping cartridges, you should check the estimated ink levels. To do so, press the ink droplet icon from the printer’s LCD display. From here, you will see whether or not one of your cartridges need to be replaced.
If you’ve checked your estimated ink levels and it’s clear that you need to replace the existing cartridge, proceed to Step 2.
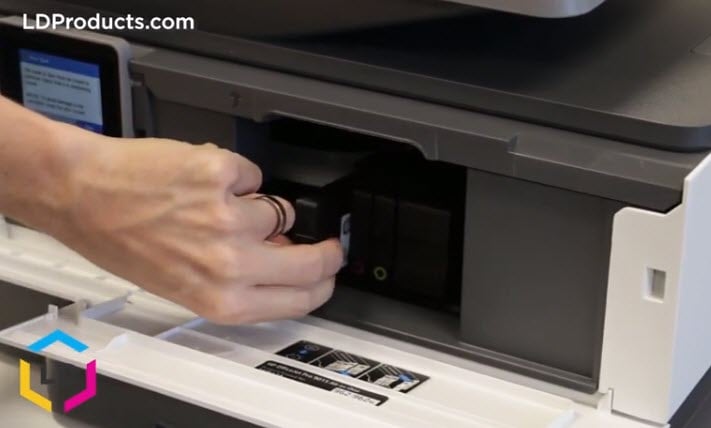
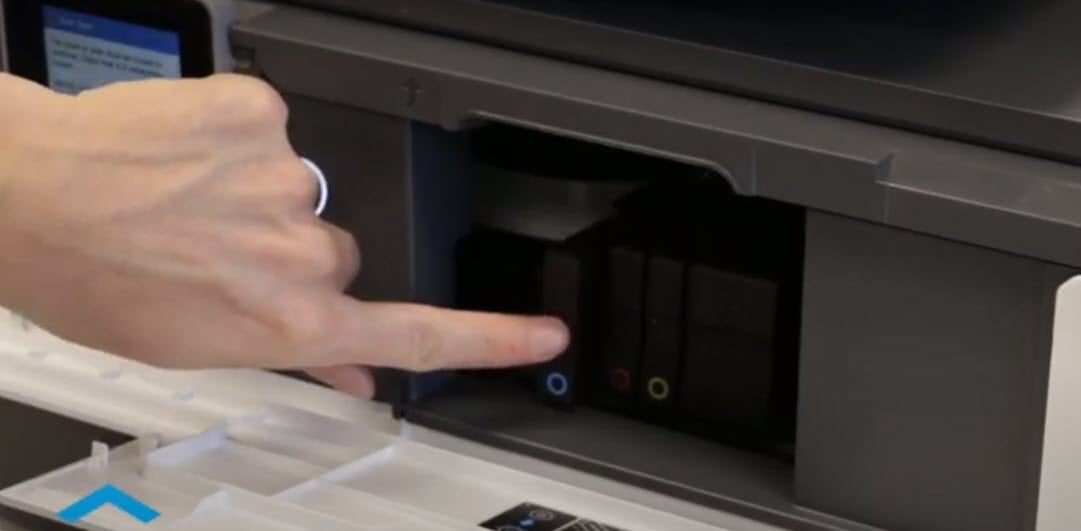
#2 – Remove the empty cartridge.
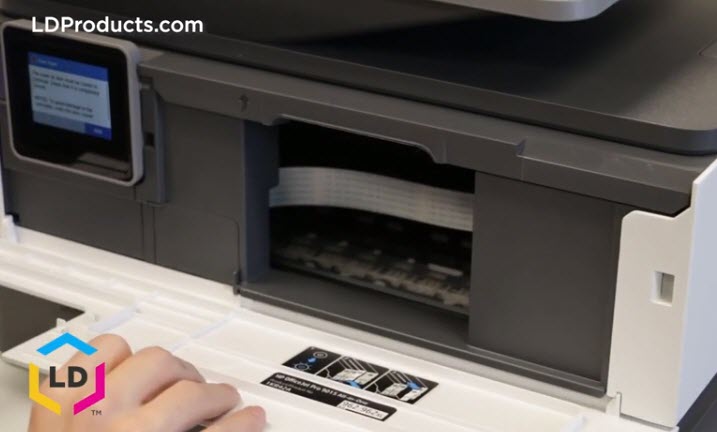
Power on your printer and make sure you have a sufficient amount of paper loaded into the tray. Pull down the front cover of the printer via the slot on the front right of the printer to access the cartridges. Once you have done this, the cartridge carriage will automatically move to the center of the printer.
To remove the old cartridge, push on the front of the cartridge so it pops out.
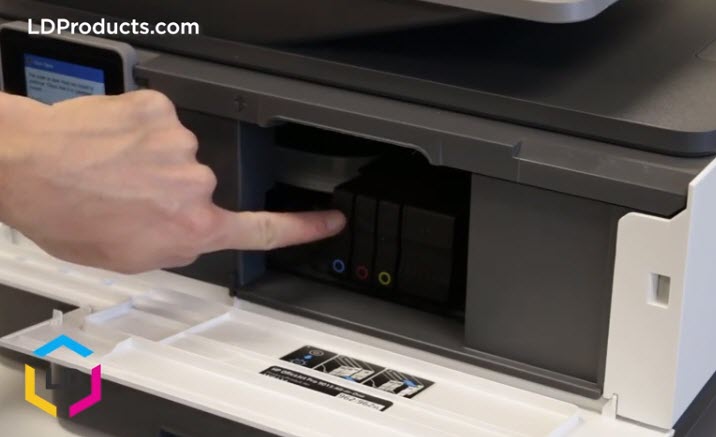
When it does that, pull it towards you to gently slide it from its slot.
#3 – Unpack the new cartridges.
Carefully remove the cartridge from its packaging and be extra careful not to touch the gold chip located on its end, as this is the electrical contact. If any dust or residue gets on the contact, clean it off gently with either a lint free cloth or Q-tip, as it may not read properly once installed.
#4 – Insert your new cartridge into the printer.
To insert your new cartridge into the printer, hold it by its sides, then gently slide the new cartridge into place and push forward gently until it makes a clicking sound–always make sure you insert the contact side of the cartridge into the machine.
Close up the access door and wait for the printer to initialize.
Please note, if you’re using a remanufactured cartridge and you get an error message after installation, gently clean the contact point with a Q-tip (cotton bud) or lint-free cloth. More often than not, this will solve the error message issue.
If you’re using genuine HP cartridges, the printer will acknowledge that you are using genuine ink. However, if you’re using remanufactured cartridges, you may get a message notifying you that non-genuine HP cartridges have been installed. But don’t worry, this message should not prevent you from printing – you should be able to print as expected (in the unlikely event that you do experience problems, consult your printer manual our customer service department for advice).
#5 – Test your HP cartridge.
After you’ve installed your ink cartridge, it’s time to carry out that vital print test to check the print quality. Fire up a document, press print, check the results and check that the ink is printing correctly. If the ink does come out streaky or smudgy, consult your HP printer manual to check how to align the printer heads.
You can also watch the entire video here:
We hope you enjoyed our step-by-step guide on how to change HP printer cartridges. Stay tuned for part three of our printer installation guide series which will talk about how to replace Epson cartridges.


[…] guide on how to carry out the task. The second installment offered a comprehensive guide to changing HP printer cartridges. In this article, we’ll be talking about how to change Epson printer […]
[…] Installation for new HP 61 ink cartridges is quick and easy: simply center the carriage, remove the empty cartridge, and replace it with the new one. Each step can be done without additional tools and with minimal mess. Here’s a video showing you each step in full detail: https://www.youtube.com/watch?v=oJVYTXaI6e4 Please note: the model shown in this demonstration is the HP ENVY 4500 e-All-in-One. Most printers that use the HP 61 call for a similar installation process but be sure to reference your printer’s user guide just in case. More information on replacing HP ink cartridges can be found here. […]
[…] INKstallation Guides: How to Change an HP Printer Ink Cartridge. – Sep 1, 2015. For example, the HP DeskJet 3050 operates on a tri color and black ink. using a remanufactured cartridge and you get an error message. […]