
Knowing how to change ink or toner cartridges is mandatory when you own a printer. And despite the fact that printers are now commonplace in households, there are still a good number of folks who shy away from the seemingly daunting task of replacing printer ink.
So to avoid running out of ink an hour before your deadline, or halfway through your child’s homework, here’s a step-by-step guide that would hopefully make changing printer cartridges a breeze.
Inkjet vs. Toner
Before we begin, let’s identify what type of printer you have so we can establish the ink or toner cartridge you need to purchase. Do you have an inkjet printer or a laser printer?
What are the differences?
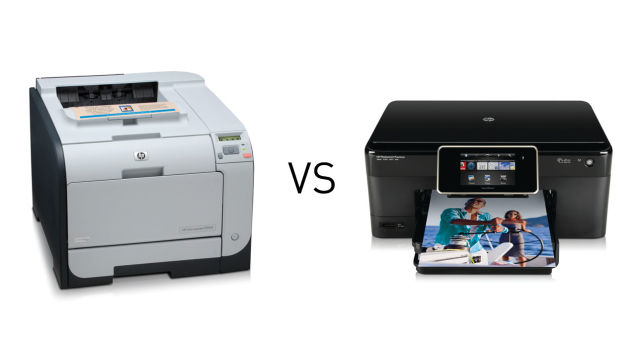
Laser printers (as pictured above on left) are unbeatable when it comes to print speed but lacking when it comes to image quality since they are built to print in larger quantities. Inkjet printers (as pictured above on right), on the other hand, are perfect for printing colored images but are built to print in smaller numbers. In summary, it’s a case of quantity over quality (laser) or quality over quantity (inkjet). The Guardian reports that toner cartridges can yield around 1,500-3,500 pages, whereas inkjet cartridges only last for around 200-500 pages.
If you print a lot of documents at a time, consider investing in a laser printer. Toner cartridges might initially cost more but they print more copies and last longer than an ink cartridge.
Another major difference in terms of replacement and installation is that toner cartridges are much larger than inkjet cartridges. The toner cartridge is much less compact and looks almost like a tray, while an inkjet cartridge is small, compact and box-like, making it slightly less tricky to replace. Although there are some differences to the installation process of these two types of printer cartridges, most of the steps do cross over.
Steps to Replace a Printer Cartridge
#1 – Write down your printer’s brand and model number
Before you start to fiddle with your printer, make sure you write down your printer brand and model, and the cartridge number (if you have it) to ensure you make the right purchase. If you can’t find the printer make or model number, check the printer guide or manual that came with the machine. if you don’t know the cartridge number, you’ll find that out in the next step.
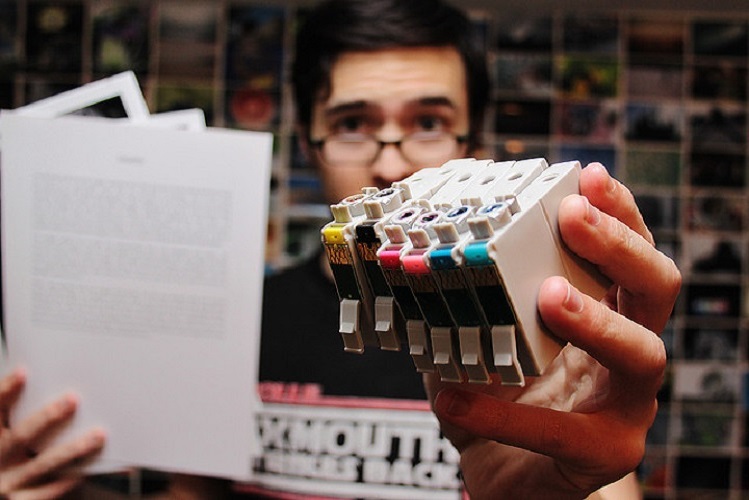
#2 – Remove the old cartridge
The proper way to remove an ink cartridge can vary for every printer so we strongly advise you to consult your printer’s user manual for specific instructions on cartridge removal. Most printer brands include a PDF version of the user guide on their website.
Removing the empty cartridge requires the printer to be turned on, so fire up your printer and lift up the lid (or open up the front printer flap). If it’s an inkjet printer, the cartridge should automatically slide to the center (take note, some have a fixed position and a button must be pressed in order to move them). If required, press the ink button to release the cartridge. You must be delicate and not force the cartridge out of its housing or you could cause serious damage.
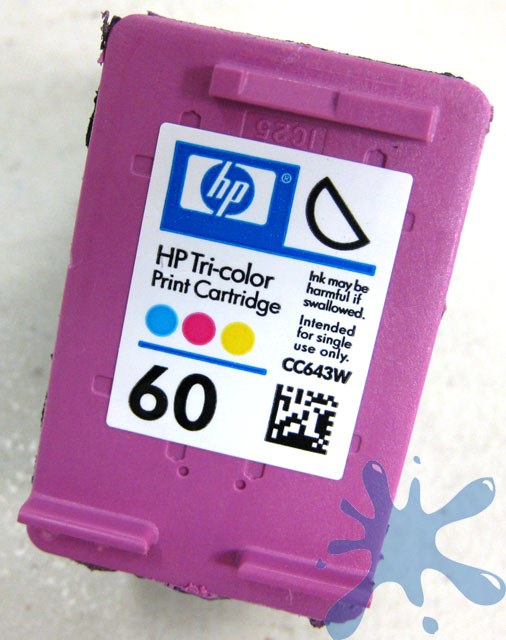 Now that you have the old cartridge in your hand, it should be easy to identify the cartridge number. Let’s breakdown the anatomy of a printer cartridge sticker label.
Understanding Cartridge Sticker Labels
Let’s take this HP 60 ink cartridge for illustration purposes (thank you, Freedomtoprint.com for the nifty image!):
The number that stands out on this label is “60”, which indicates the series this ink cartridge belongs to, the HP 60. There’s more than one cartridge in this series (since there are black cartridges and tri-color cartridges) and the part number helps uniquely identify each cartridge. In our example, “CC643W” would be the part number for this cartridge.
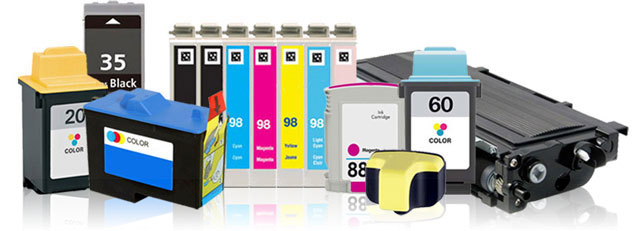
#3 – Purchase the right ink or toner cartridge
There are so many options in today’s market apart from expensive original cartridges that so famously cost an arm and a leg. More budget-friendly options, like compatible and remanufactured ink cartridges, are widely available at a fraction of the original’s cost. Make sure you take your time, do some research, consider all options, and most of all, ensure the cartridge you do purchase is compatible with your printer.
#4 – Unpack the new cartridge (considerations)
Carefully remove the cartridge from its packaging, give it a few shakes, then remove any protective tape from the ink nozzles. For toner cartridges especially, make sure you remove them from the packaging holding them horizontally, and with both hands. This reduces the risk of both damage and spillage.
#5 – Insert your new cartridge into the printer
Before you proceed, we strongly advise that you consult your printer’s users manual for specific installation instructions to know how to properly install the cartridges. Incorrectly forcing a cartridge can result in irreparable damages that will cost you much more. If you no longer have the manual, you can locate cartridge replacement instructions from your printer manufacturer’s website online.
Inserting the new cartridge may sound glaringly obvious but, for some, it’s a detail easily overlooked. Keep in mind that you need to insert the cartridge in the reverse way you removed the old one. You may have to insert it at a certain angle and either slide or clip it into place with a little pressure until it clicks and locks in. Similarly for toner cartridges, make sure you slide the unit in carefully until you hear that click. Here’s a video from HP on how to replace cartridges for the Envy printer.
#6 – Test your cartridge
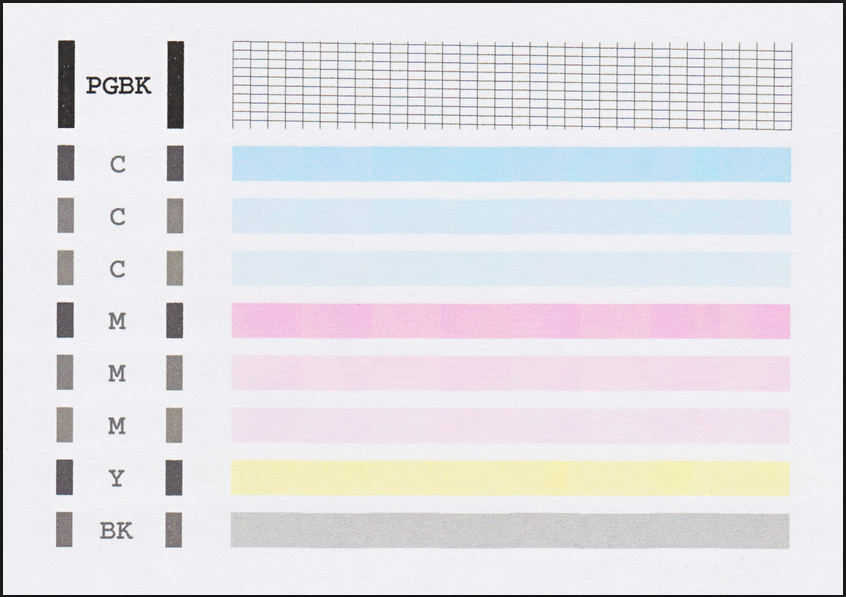
After installing the cartridge to your printer, it’s time to do that all-important test print to check that everything is working properly. Simply load up a document, cue up a print and check the print quality. This will also get the ink flowing correctly before that first proper print job. Please note, if the ink comes out streaky or smudgy, consult your printer’s documentation to learn how to realign your printer heads.
We hope you enjoyed our high-level guide on how to replace a printer ink or toner cartridge. Stay tuned for the second part of our installation guide series which will talk about how to replace HP printer cartridges.
Disclaimer: The images on this page are not owned by InkCartridges.com and are used solely to illustrate concepts discussed in the article. Please click on the images to see their original sources.


[…] stated in our previous article, make sure you take note of your Epson printer’s model number, […]
removed an empty cartridge from Canon printer, It is labeled Canon PG 210 XL I don’t see that No in your listing .
Cannot find the cartridge no. PG 210 XL on your list ? Betty